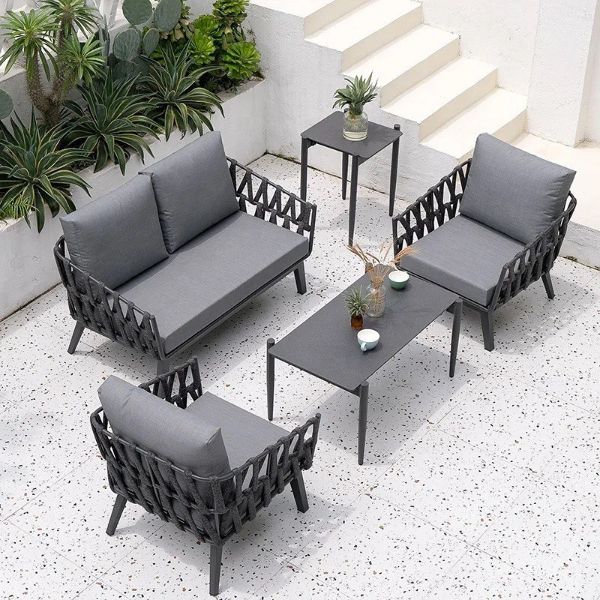
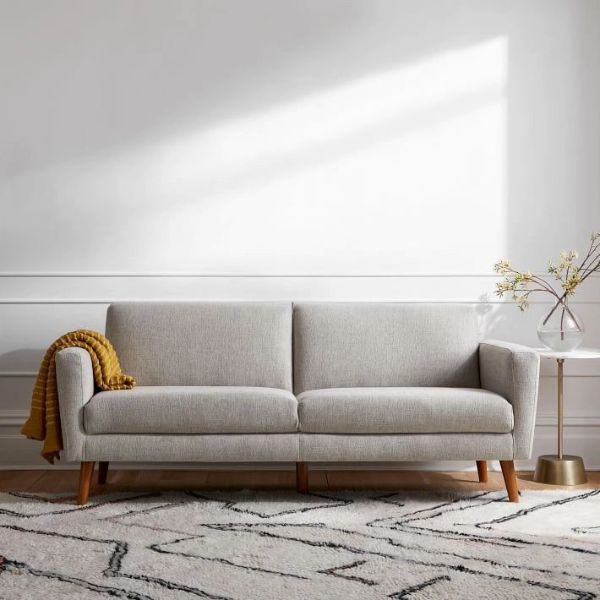
From sanding and staining to painting and distressing, a world of possibilities is waiting for you. Whether you want to add a rustic charm or give a modern twist, these methods offer endless opportunities for creativity. And if you’re feeling adventurous, why not try decoupage or slipcovering? There are many additional inexpensive methods to revive your loved objects. This blog article by Upholstery in Dubai will discuss inventive ways to revive your furniture.

Sanding
Sanding Unleashing the Beauty Hidden Within
Prep Work
Before diving into sanding, remove any hardware or accessories from your furniture. This will ensure a smooth and even finish.
Sandpaper Selection
Choose the right grit sandpaper for your project. Coarse grits (60-80) are ideal for removing old paint or varnish, while finer grits (120-220) work well for achieving a polished surface.
Surface Smoothing
Start by sanding with light pressure in the direction of the wood grain. Gradually increase pressure if needed to remove imperfections and create an even texture.
Getting Into Detail
Use sanding blocks or folded sandpaper to achieve precision without damaging surrounding surfaces for intricate designs or hard-to-reach areas.
Dust Removal
After each sanding session, wipe away dust using a clean cloth or vacuum with a brush attachment. This will prevent particles from clogging up the surface and affecting your final result.
Final Touches
Once you’ve achieved your desired level of smoothness, consider applying a sealant like varnish or wax to protect and enhance the natural beauty of the wood.
Remember, proper ventilation and protective gear are essential when working with sandpapers as they can produce fine particles harmful when inhaled! So wear those safety goggles and masks before embarking on your revitalization journey through sanding!
Staining
Staining is a great method to freshen your furniture. Consider these factors while
Staining Furniture
Choose a stain Oil-based, water-based, gel and other stains are available. Each class has distinct traits and uses.
Prepare the Surface
Clear the surface of dirt and previous finishes before staining. Sanding removes varnish and paint and smooths the surface for staining.
Test on an Inconspicuous Area
Always test the stain on a tiny invisible section of your furniture before applying it to the whole item. This will show you whether the color and finish are right.
Apply Evenly
Apply dye evenly along the wood grain using a brush or cloth. If you want More than one coat then Follow product guidelines for drying times.
Protect with Topcoat
Once you’re satisfied with how your furniture looks after staining, apply a protective topcoat such as polyurethane or lacquer to seal your hard work and provide durability.
Painting
Paint is a flexible and affordable technique to update furniture. It can dramatically change and revitalize an item. Here are some painting tips for furniture.
Prep Work
Clean the surface and remove any old paint or varnish before starting. Sanding will help create a smooth base for the new paint.
Choose the Right Paint
Opt for high-quality furniture designed for this purpose. Think about things like how long it will last, what kind of polish it has, and what colors you may choose from.
Prime if Necessary
Applying a primer can help achieve better coverage and prevent bleed-through if you’re painting over dark or stained wood.
Brush or Spray
Decide whether you prefer a brush or sprayer based on your skill level and desired finish. Brushes give more control, while sprayers provide smoother results.
Apply Multiple Coats
Thin layers of paint dry faster and adhere better than thick coats. Apply two or more thin coats, allowing sufficient drying time between each layer.
Add Finishing Touches
Once the paint has dried completely, consider adding decorative elements like stenciling or distressing techniques to enhance the overall look.
Remember to follow proper safety precautions while painting, including adequate ventilation and protective gear such as gloves and goggles.
Distressing
Distressing is a popular technique to give furniture a vintage or aged look. It involves intentionally creating wear and tear on the piece’s surface, resulting in a charmingly weathered appearance. Here are some points to consider when distressing your furniture
Choose the Right Piece
Distressing works best on wooden furniture with visible grain patterns.
Prepare the Surface
Clean and sand the furniture to remove any existing finish or imperfections.
Use Distressing Tools
Various tools like sandpaper, wire brushes, hammers, and chains can create dents, scratches, and other marks on the surface.
Focus On High-Traffic Areas
Concentrate your distressing efforts on areas that naturally show signs of wear over time, such as edges, corners, and handles.
Layer Different Techniques
Combine distressing with other methods like staining or painting for a more unique effect.
Seal and Protect
Once you’ve achieved the desired distressed look, apply a protective sealant to preserve it for years.
Distressing allows you to breathe new life into old furniture while adding character and personality to your space!
Decoupage
Decoupage is a fantastic technique that can breathe new life into tired furniture. Here are some points to consider when using decoupage as a way to revive your furniture
Choose Your Materials
Decoupage uses glue to attach paper or cloth to furniture. Choose materials that match your style and color palette.
Level Terrain
Make sure your furniture is clean, dry, and finish-free before decoupaging. Sanding can enhance adhesion by smoothing the foundation.
Cut and Rearrange
Select magazine, wrapping paper, or fabric pictures or patterns to cut. Position them on the furniture till you’re happy.
Apply Adhesive
Attach the cutouts to the furniture using a solution of Mod Podge or white glue mixed with water. Brush it on evenly, flattening wrinkles and air bubbles.
Seal and Protect
Once all pieces are adhered and dried, apply another coat of decoupage medium over the entire surface to seal and protect it from wear and tear.
Optional Finishing Touches
If desired, add additional layers of paint or varnish over the decoupaged areas for added durability and aesthetic appeal.
Conclusion
There are plenty of ways to revive your furniture without the hassle and expense of reupholstering. Whether you choose sanding, staining, painting, distressing, decoupage, or slip covering, these techniques offer creative alternatives that bring new life and style to old pieces. So why not try one of these methods today and breathe fresh air into your tired furniture? Your home will thank you for it!


